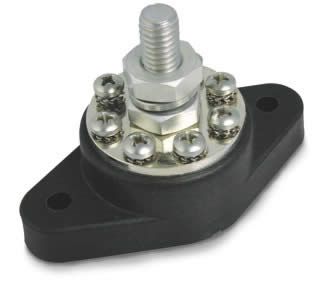
Over the weekend, I tackled my Thunderform install. Pretty simplistic unit, especially when compared to some of the systems on this forum! For starters, MTX's instructions are pretty much useless. There are huge glaring errors, and they are very basic, meaning they make blanket statements, with no guidance, no description, no actual instruction. Hopefully my trial and error install will help anyone using the Thunderform. I should mention that I have a 2006 Supercab truck, for reference. 1st thing I ran the wiring 'harness' lol. The wires all tuck nicely, behind the seats, just under the carpet lip. Getting them in there, behind all of the seatbelt brackets etc. was alot of fun! I actually rubbed the skin off of a couple of my knuckles, stuffing my hands in and out of that tight seat joint, about a thousand times! I found a nice grounding point, on one of the bolts that holds down the jack.
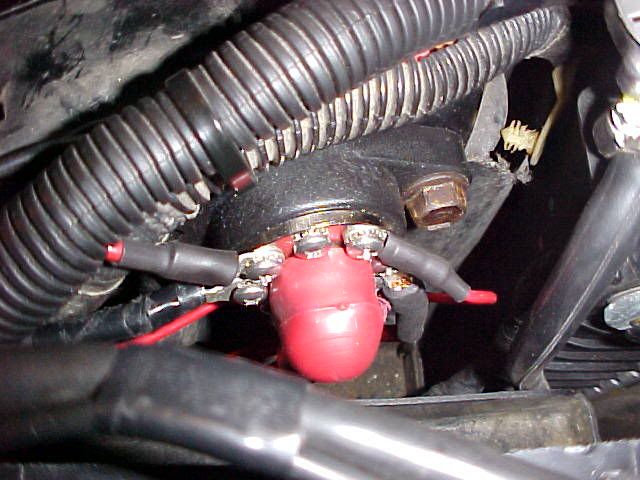
 I spent the better part of an hour, banging my head into the wall, trying to route the power wire into the engine bay, up to the battery. I did not want to drill any holes in my brand new truck! I noticed the antenna wire going down into the fender, and it could (somewhat) easily be seen, up under the passenger footwell. I thought if worse comes to worse, I can enlarge that hole, and install a new grommet. Turned out to not be necessary. Once the splashguard was moved out of the way, I found a nice 3/8" hole in the firewall, just under one of the main wiring harness holes/grommet. It is unused, and is only covered with a sticker.
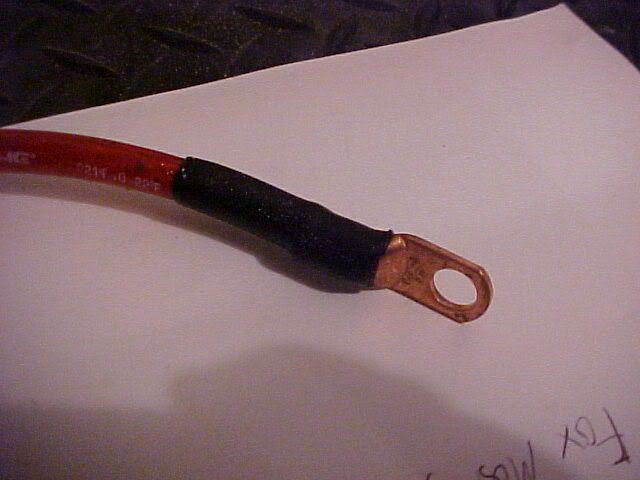
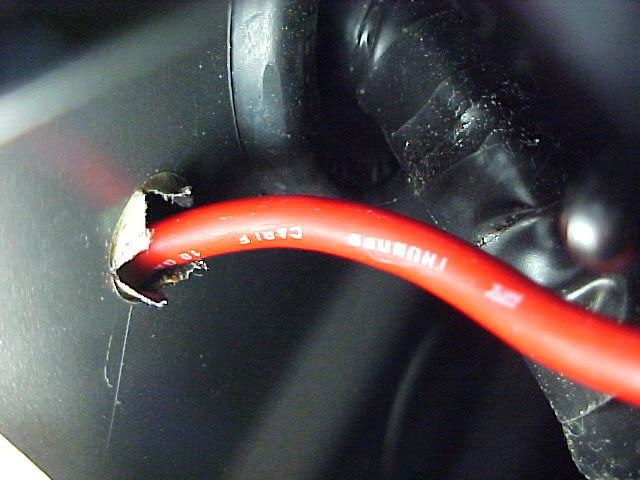 I installed a couple of grommets on the power wire, to ensure that no water or whatever, found its way into the passenger compartment.
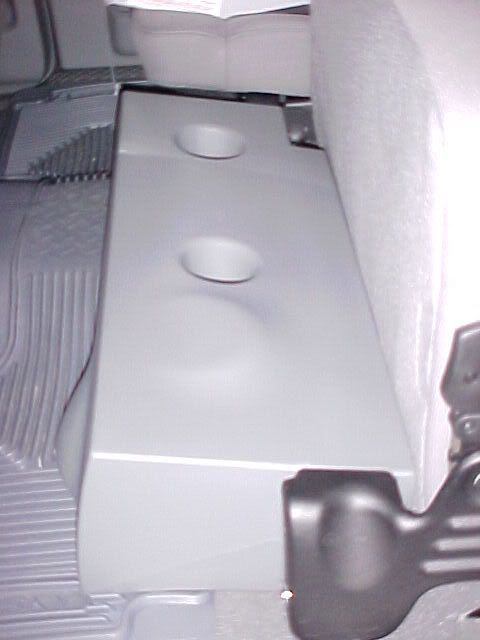
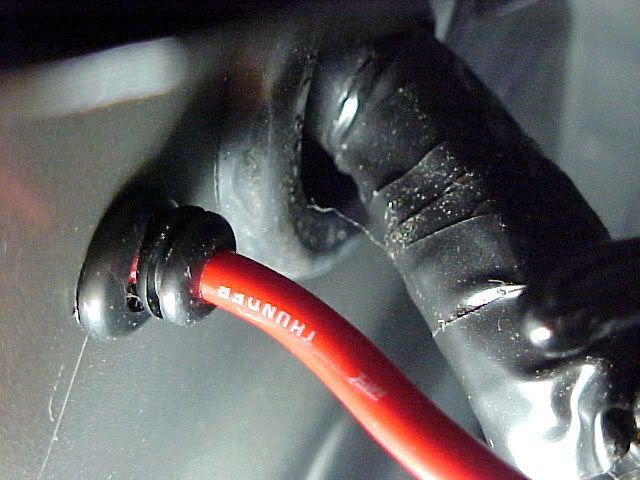 Next, I routed the speaker wires. These simply tap into the existing rear speaker wires, making it unnecessary to run lines up to your head unit. I'm 99.9% sure that the factory head unit does not have RCA outputs, at any rate. The MTX directions state that the speaker wires run under the drivers side threshold?! Hmmm, doesn't make sense to me, but I stupidly run both sets of RCA cables over to the drivers side. I know, I'm an idiot. I am only able to finde the LH speaker wires, of course, the RH wires are on the passenger side threshold, duh. Thats what I get for taking these 'directions' too literally. Meaning I have to reroute the passenger side RCA cable, meaning a couple more mm of knuckle skin worn off! After that, It was smooth sailing, the box screws right in snugly, and actually sounds quite good for what it is.
My post isn't meant to replace the instruction that MTX provides, merely augment them, since they are woefully lacking. Hope this helps.
Here are some pics of the final install: