This is a very easy job, and can be done in under 1 hour. You don't have to remove your rear wheels, but it does make the job easier. If you opt out of removing them, you will need to jack up your car, from the frame rails, not the rear diff. so that the wheels will 'droop' out of the way. Next, remove your access covers from the rear shocks. You will have to cut and remove a small amount of the jute insulation, to make room for the mounting bracket. The bracket is simply a small piece of angle steel, nicely powdercoated black. (chrome is now available, as well.) I loosely bolted the mounting brackets, to the bar, to get proper alignment for drilling. Then set the bar into place, where it will be permanently mounted. This will provide the precise location, on each side, for the mounting brackets, and for marking the 4 holes, 2 per side. I centered my brackets directly over the rear shocks, where I felt there would be the maximum amount of flex. You could also put the bar to the extreme rear of the access panel (like Randy Pethel did) or even the extreme front. I did notice that I would have to remove my bar, to gain good access to the rear shocks, for removal. Altering the mounting location to the rear would probably have taken care of this!
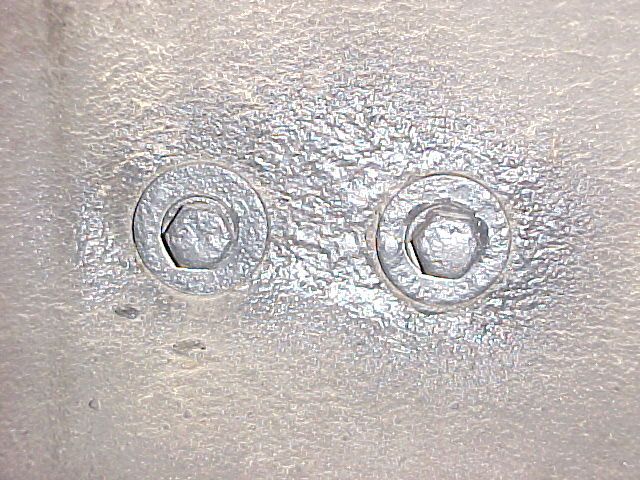
For this installation, the holes will need to be drilled, slightly oversized from the bolts, to provide a bit of play, for mounting the bar. There are 4 bolts, per side that will need to line up. I drilled precise holes, first, but proper alignment proved impossible, so then the holes were enlarged, only one bit size or so. Make sure you don't drill into your tires! I dumped the inexpensive bolts that came with the bar, upgrading to grade 8 hardware, as usual. The angled brace simply mounts, from the inside, using the holes that were drilled, through the wheel well. I tightened up the mounting brackets, to the wheel wells, first. A bit of silicone glue was used here, to make sure the oversized holes are sealed from any water etc. (like any of us drive in the rain! lol) Then I lowered the car, back on to the ground at ride height. Once all the weight is on the unibody and wheel wells, finally, the strut brace mounts to each angled bracket. Here are the bolts, as viewed from the wheel well, covered in textured undercoating spray paint. If I didn't point them out, you would never even know they are there.
Here is the bar, bolted to the angled bracket. Note the jute insulation, I tried to just cut a tiny slit, and push it out of the way, but there was just too much there, and it interfered. I had to cut and remove a small rectangular piece, and then push the excess, out of the way.


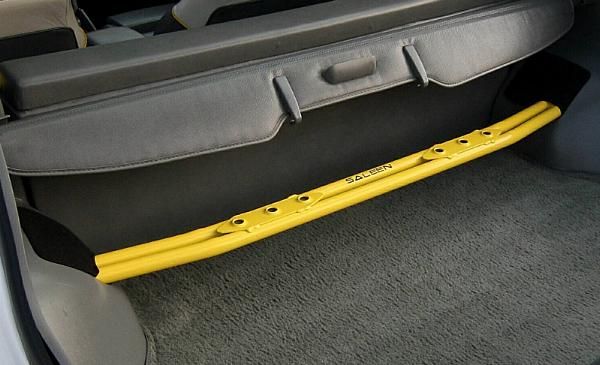
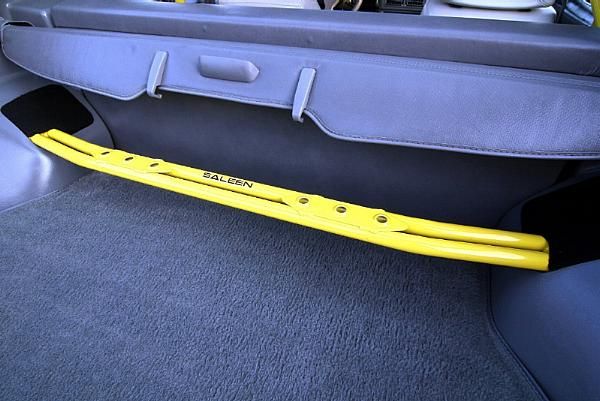
Then you can measure out your access panels, and cut them, for the bar to pass through. I ordered a replacement set from MPS Auto Salvage, in Georgia, as a backup. Upon further inspection, I cut and used my OEM access panels, not the replacements. The color matched better, and they were in nicer shape than the salvage pieces. If I ever remove the bar, I will have to paint up the replacement panels. You can see the panels in a few of these pics. I also used a bit of vacuum tubing, to clean up the cuts in the panels, and provide a more finished look. I could have done a better job, in retrospect! Fellow Saleen owner, Randy Pethel used the matching Saleen speaker foam, to replace his panels, which looks very trick, and more factory Saleen. Randy also had his bar powdercoated yellow, matching his Saleen SSC color scheme. Here is Randy's:
I mounted my bar, in the center of the access panel opening, Randy mounted his to the rear. I think it makes absolutely no difference. Same goes for the Saleen bar, which is mounted low, against the floor, into the wheel wells. I previously owned a Saleen bar, which I was going to install, and then remove my SMR bar. (My ultimate goal is to have an SA10 comparable car, when done) I opted against it, since I already had the holes for the SMR bar, and the previously mentioned PITA, of removing the large rear interior sail panels! lol
Here is mine:

And a close up of the fire extinguisher and the replacement access plates:
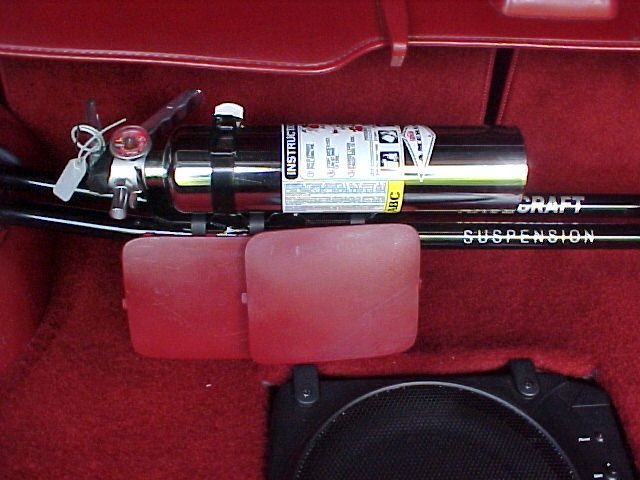
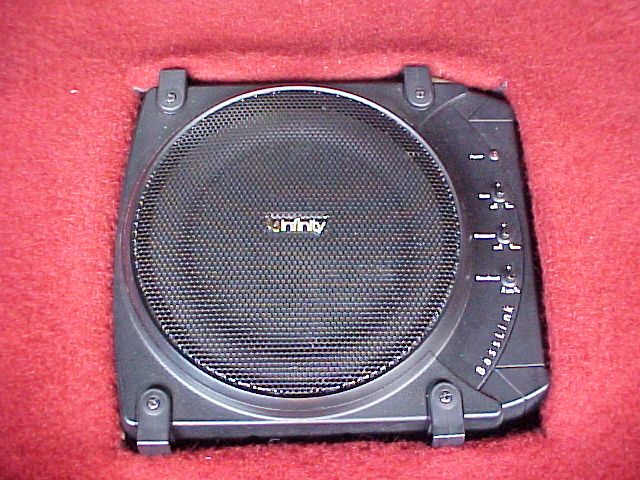
Here is an extra pic of my Infinity powered subwoofer, that I have mounted in my spare tire well. I fabricated my own 1/4" lauan plywood spare tire cover, that actually covers the entire hatch floor. It has the hole cut in it, for the subwoofer, and the carpet was cut and glued to the underside of the hole. Again. the jute backing, had to be cut away and removed. Now the carpet acts like a hinge, for lifting up the spare tire cover/floor.