I recently mounted the K1300S luggage rack, to my K1200S. Honestly, I did this as much for the looks, as for the added carrying space. To me, the rack looks like a spoiler, mounted to the rear of the bike, and extending the bikes's length, at an upwards angle, to the eye. I bet Andy Sills could have added 5 mph to his Bonneville top speed run, with one of these mounted, lol!!
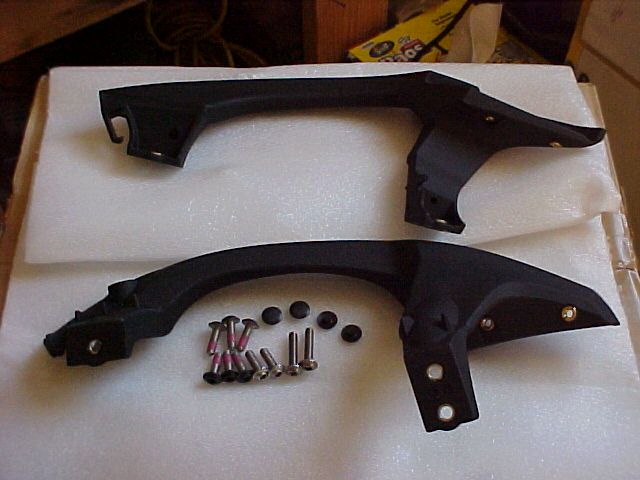
This may not even be worthy of a thread, since the installation is so straight-forward and easy! Some pic- sharing and couple of helpful hints and tips, if nothing else. Here are a couple of pics of the assembly, right out of the box:

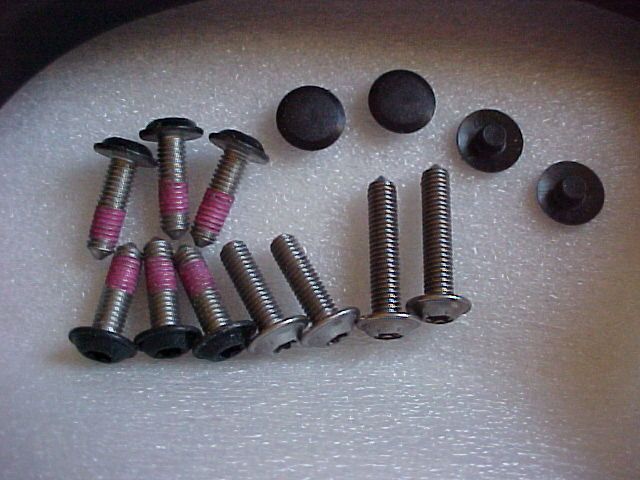
Check out the black headed filister screws, included in the kit! I didn't think that BMW had the technology to make bolts with a black head, lol! Just an FYI, these bolts mount the grab handles to the frame, and are not even seen! If only BMW could make replacement torx head screws in black for our bikes...
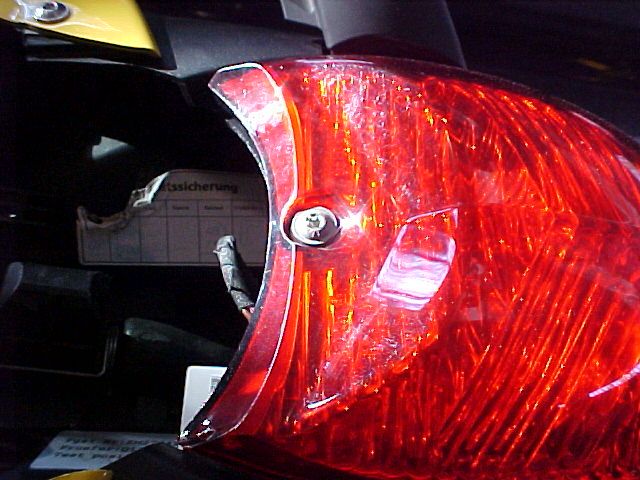
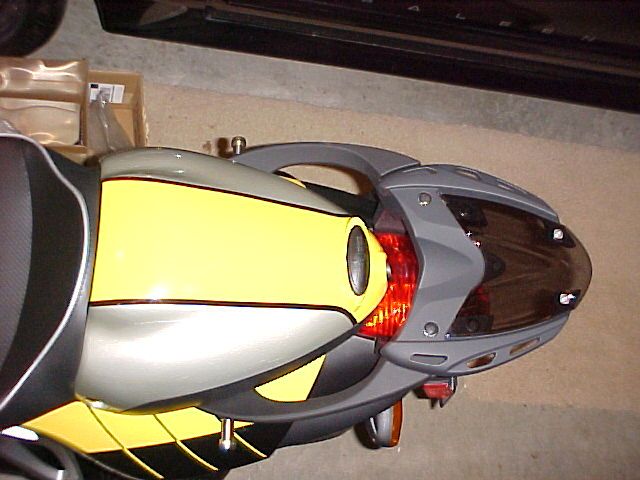
The installation instructions are quite simple. First, remove the seat, then remove the taillight assembly. The taillight is held on with a single screw only, and then a couple of friction fit slide pins. Slide the taillight to the rear, for removal. It is not necessary to unplug the taillights wiring harness.
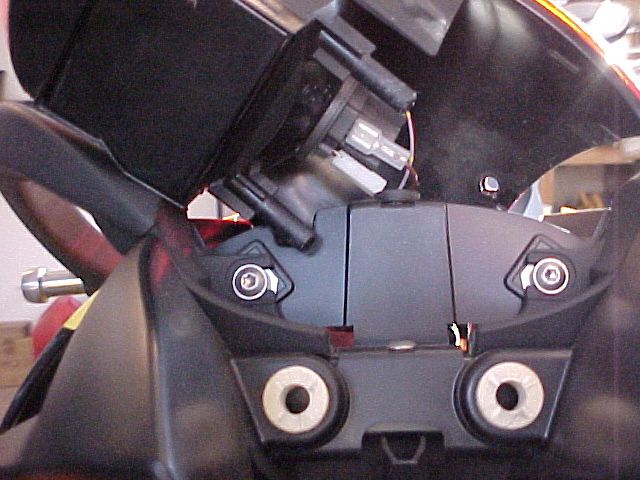
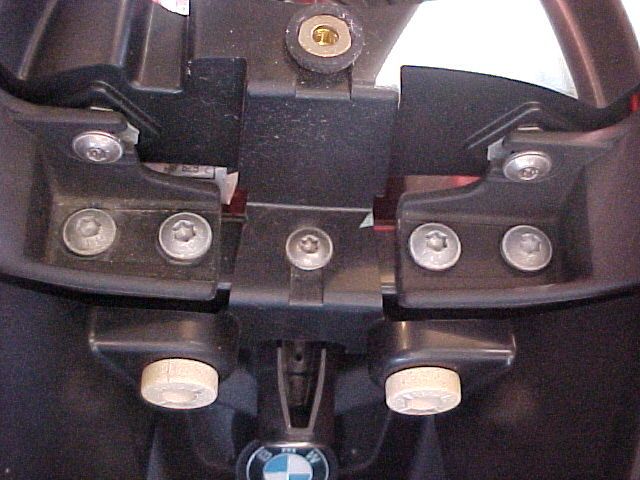
Next, you unbolt the stock OE grab handles from the frame. There is one bolt to the front of the handle, and two bolts to the rear, holding each handle in place. There is also one smaller bolt, per side, which holds some trim, and also the handles in place. The frame bolts come out hard, because of the thread locker, applied to them. Take your time to avoid stripping the frame threads!
Front bolt:

And the rear bolts:
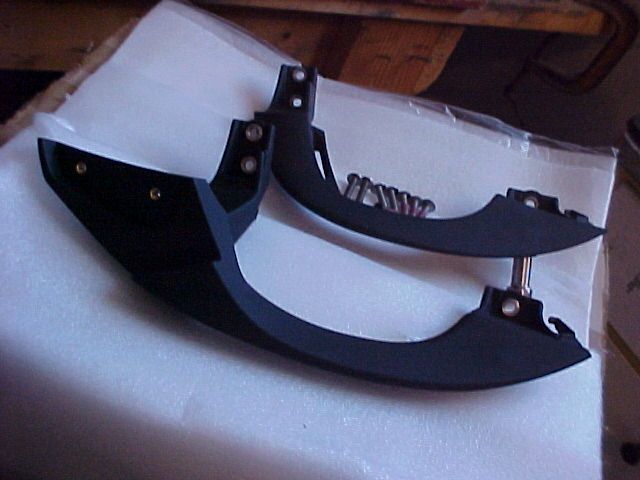
The new, longer handles mount in the same spot as the originals, using the new bolts, from the kit. (the super nice black headed bolts with thread-locker applied.) I just want to take moment and say that the OEM BMW accessories are really top-notch. I have never had even one single issue, when installing a BMW factory accessory. Here are a couple of pics of the differences in the grab handles:
*Tip* Once the handles are installed, it is time to re-install your taillight. If you wait until after the rack is installed, you will have to unplug the taillight, and put it back on, from the rear. Finally, the rack is unbolted into two pieces, and the lower structure is bolted on to the grab handles.

The little black plastic caps, cover the bolt heads, that mount the clear rack, to the assembly. They go on super hard! I had to use a wooden dowel, of the same size, and then hit them, hard, with a mallet, to get them on. Some of the racks, mounted on earlier K13's, do not have these nifty little caps, so you see the unsightly stainless headed screws, lol. I wish that BMW had taken these steps, when producing the K12's and K13's, and used frame colored screws and bolts, for the entire bikes!
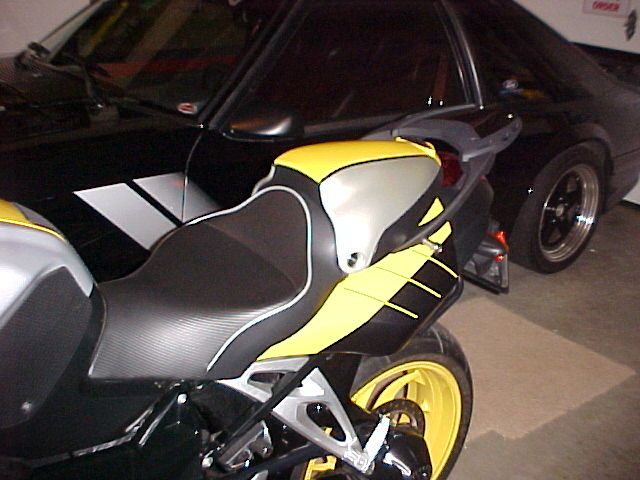
A few pics of the finished product:

Bonus pic of my inexpensive eBay clock:
BTW, the loudest ticking clock I have ever heard, glad its in my garage!