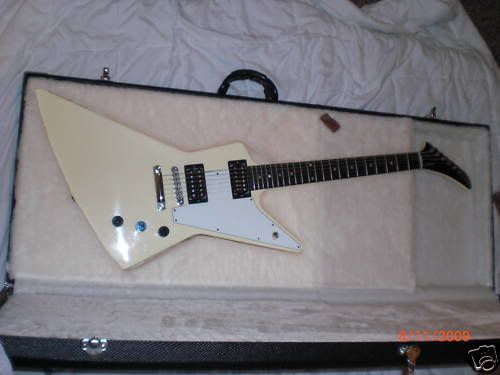
Anyway, on to my latest project; an accurate replica of Mathias Jabs 1978 Explorer! I was able to pick up a 2000's era Explorer off of EvilBay, for a song. Apparently the 1st owner had a few stickers on the back, and some kind of porn actress' autograph, covered with clear tape. Anyways, the guys girlfriend wants the autograph gone, and goes after it with nail polish remover! Not good. It kind of 'melted' the paint and discolored/lightened it up. I guess that acetone has some kind of weird chemical reaction with laquer. Whatever, that is why I got it cheap. It was already finished in Vintage White, so that was a bonus. My goal was to build an Explorer, exactly like Jabs. Nothing like those really crappy Gibson production models from the 80's! Those things were all wrong! Most of them had nickel silver hardware, black headstocks, no pickguards, no covered pickups, incorrect control layout etc etc. Here is what I started with:
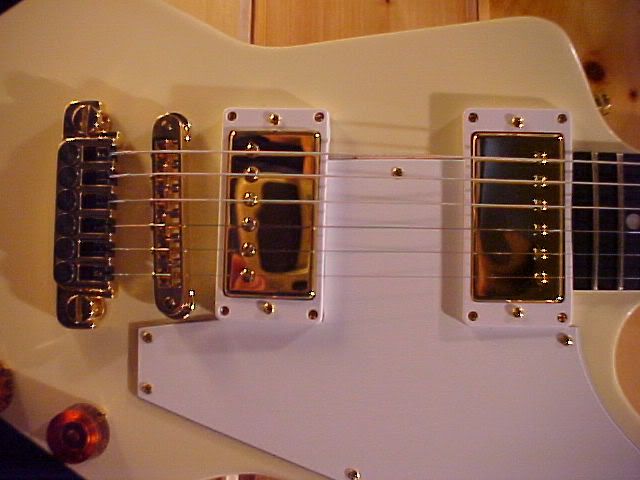
So I get this guitar, and I don't really have super high expectations. So I plug it in, and WOW, I am amazed at the crunchy tone goodness! When you think of what a Gibson should sound like, this one does. I had thoughts about swapping out the pickups, but the stockers sound killer. Matter of fact, the bridge pickup sounds so good, I may consider it (500T) for some of my other Metal Guitars! I had forgotten how good the Gibson pickups sound, I guess I have just gotten away from them, over the years, it has been all Seymour Duncan, since forever ago. 1st thing, I strip the guitar, and prep it for the stripes. The graphic looks simple, but it is not. The stripes go over the sides of the body at right angles, meaning that they are wider on the edges, and exactly symmetrical on the back. The layout was not easy, but I got the stripes, applied in tape, to where I wanted them. Then I put fine-line tape on the taped stripes edges, and removed the tape, for paint. Just a tad of light sanding the striped area, and it was good to go. I used good quality (Stew-Mac) guitar laquer. I also painted the headstock white, while I was at it, since stock it was black. The white doesn't match 100%, because The Gibson laquer has faded nicely, due to the clear coat applied, as is customary with Gibson's finishes. The white will look the same color, eventually, as it fades, I am hoping. The previous owner was also a smoker, so that greatly sped up the beautiful yellowing/aging process! Thanks!! I used a Gold gibson decal applique, since I painted over the pearl inlay. No problems here, with a decal applied directly over the legit Gibson logo. The stripes came out great, and the rest of the project was just simple, straight up hardware swapping. All gold hardware, and gold covers/pole piece screws for the p'ups. BTW, you can't just flip around a bridge cover, for the neck pickup. The spacing is different! Ask me how I know....!! I took just a couple of liberties, by using the TP6 fine-tuning tailpiece, and the Kahler style locking clamp. These can easily be reversed, and I need the fine tuners, since I am so used to playing with the Floyd Rose bridge - brutal! The only other 'deviation' that I made was to use amber speed knobs. Jabs had traditional gold colored knobs, but his appeared very dark, probably due to age, smoke etc. So the amber knobs look a bit better, even if they aren't accurate. I also modded the controls to Volume-Master Tone-Volume, which is how I like it. Finally a coat of black dye to the ebony board, for the finishing touch. Nice surprise to find that only the white Explorers come with ebony boards, which I greatly prefer?! Thanks for reading through another novel! On to the pics:
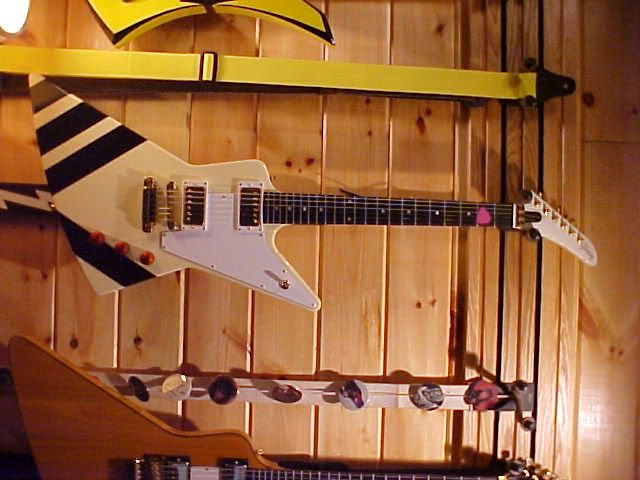
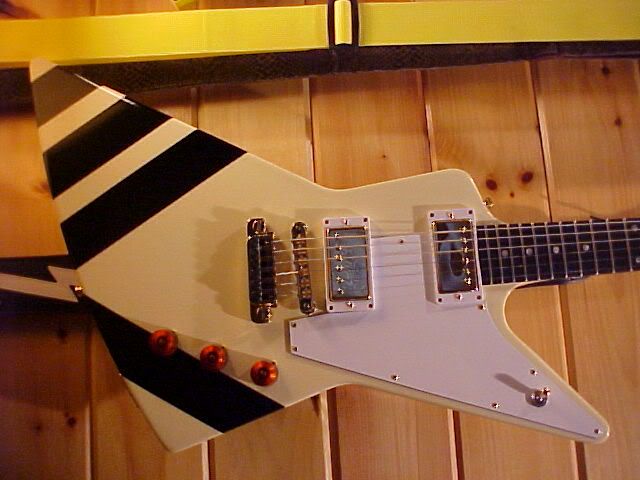
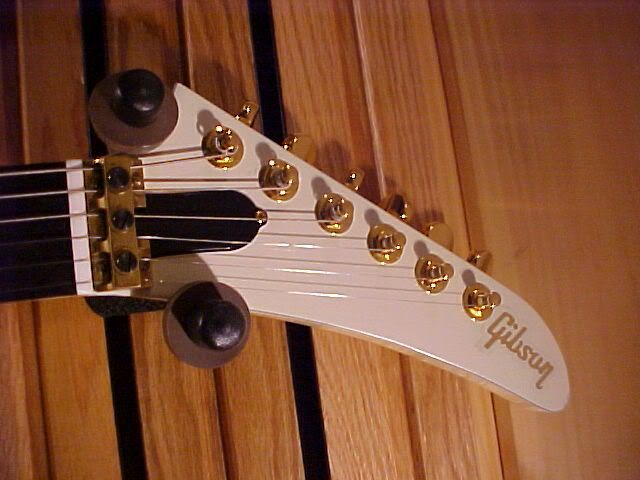
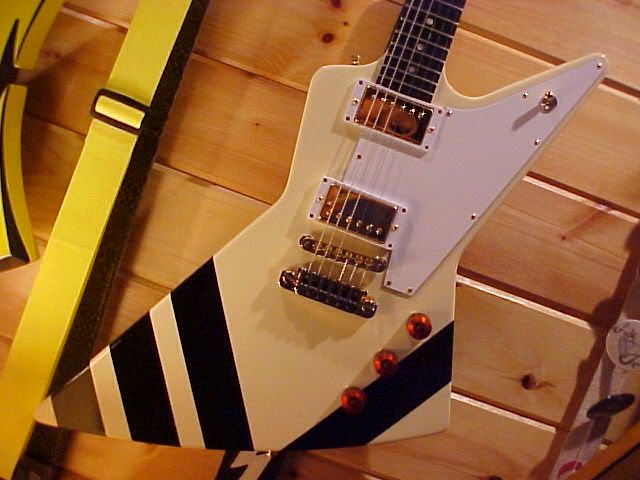
Hope you all like it!
I LOVE IT! When I get a gibson I'd hope to be able to do the same! This came out beautifully but the only thing I'd do differently would be to go for the gold knobs.
ReplyDelete