http://www.youtube.com/watch?v=k9DVlnX0jIc
So I chose the Ford Racing loop, made by HPM. The products that Ford Racing puts their name on, in my experience, are well built and also fit very well. The FRRP loop is also specifically designed, to clear the FRRP oversized aluminum driveshaft, which I am running. Unfortunately, the part is now discontinued, and I had links to Jeg's and Steeda, to purchase it, that are now dead. Luckily, I found that Brothers Performance had 1 (!) left, so I ordered it up. Here is how it is 'supposed' to come:

Mine came with only 4 nuts/bolts to hold the loop brace to the cross brace, none of the bolts to mount the assembly to the car!? I called Brothers Perf. and they said that I got the last one, there was no way they could even verify that it was supposed to come with the other nuts/bolts/washers etc. Honestly, I was just looking for a partial refund, or maybe some in-store credit? Anyway, I got nothing, other than a "sorry, I guess you'll have to go to the hardware store." Oh well, previously I have had excellent experiences with Brothers, so really no big deal. I had always intended to replace the included hardware with grade 8 bolts/washers, anyway, but the 12 grade 8 - 5/16" bolts/washers and stop nuts cost me an extra $10. DS safety loop was $50 shipping included, BTW. For those who still need one, Summit sells an exact copy of the FRRP product, with the only difference being theirs is powdercoated black, the FRRP is zinc coated. I painted mine with self-etching primer and gloss black Duplicolor, as my car is black, and I wanted it to blend in, even though it is never seen! ](*,)
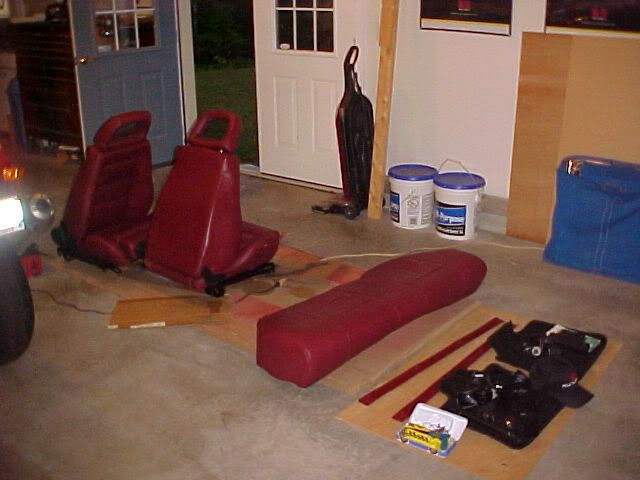
The first step in the project, is removing your interior! You will be drilling, 8 holes, from underneath the car, into the space occupied by your seats. I also have an Anderson Ford Motorsport PMS system, underneath my passenger seat! Not taking any chances, here! Both seats, the rear bench, the sill plates, and shoulder belt bolts will need to be removed. This way, you can pull your carpeting, out of the way, for drilling. Here is my interior:
And my PMS system:

Stay tuned, there is more to come!
Continuation of the install:
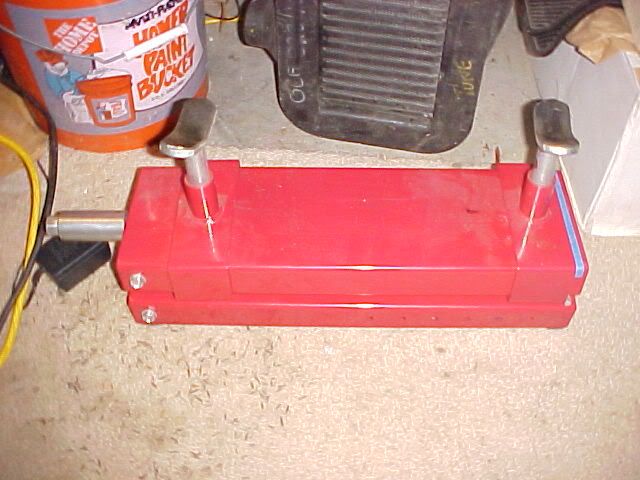
After the removal of the interior, you have to lift the car, to install the loop. I used jack stands, but an actual lift would have made the job much, much easier! If you use jackstands, remember to put them under the rear axle, to prevent it from hanging, and possibly interfering with the installation. Getting the loop in place isn't that difficult, as the two piece design allows for easy fitment. Actually, bolting the two pieces together, in place was probably the most difficult part of the installation! In this case, where the pieces are joined, the bolts will face up, towards the car, to provide maximum exhaust clearance, for your H-pipe. The NHRA regulation requires that the loop be installed within 6" of the front U-joint. I don't intend to drag race (not yet) but it makes sense to follow this regulation, the loop will have the most benefit, in this area. There is a nice flat spot, under the seat pans. Once I got the loop where I wanted it, I used this neat motorcycle lift, to hold it firmly in place, for drilling.
Then the tip is to drill a single hole, on one side, and mount the nut and bolt, snugly in place. Then go to the other side, and repeat with another single hole. This way, you can be sure that the loop will not shift, while you drill the remaining holes. I used the washers, in the only place necessary, where it actually made sense, on top of the interior sheet metal. I also placed the bolts, facing the ground, so that just the heads and washers are tucked under the carpet, providing minimal intrusion. The reason I mention this, is because there are other how-to's, on the net, and even on the 5.0 magazine website that show improper installation! I also used a good amount of silicone, so that it went under the washers and down the threads to completely seal up the holes. One of the other tips I picked up, is to only drill a 5/16" hole, which is the same size as the bolt. That way the bolt will actually thread through the hole, with no excess play or slop, from an oversized hole. I did have to chase a couple of the holes, with a tap, but most threaded, on their own. I didn't run into any issues, since I made sure of the proper alignment, by securing one bolt per side, first. Here is the installed pic from the top, drivers side:
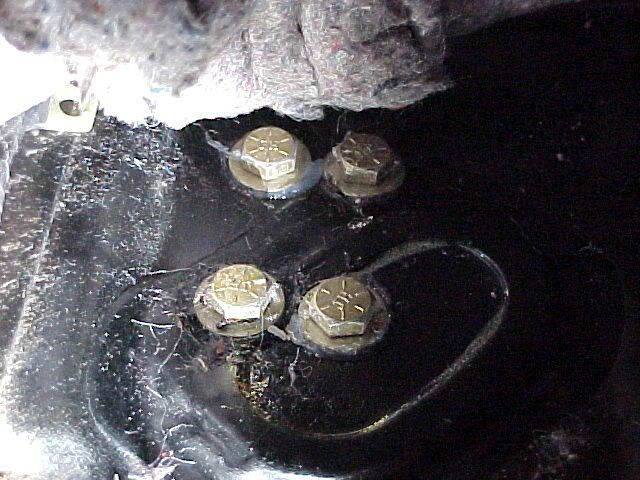
Passenger side (you can see the rivet that holds the fuel lines in place, to the left of the bolt heads) :

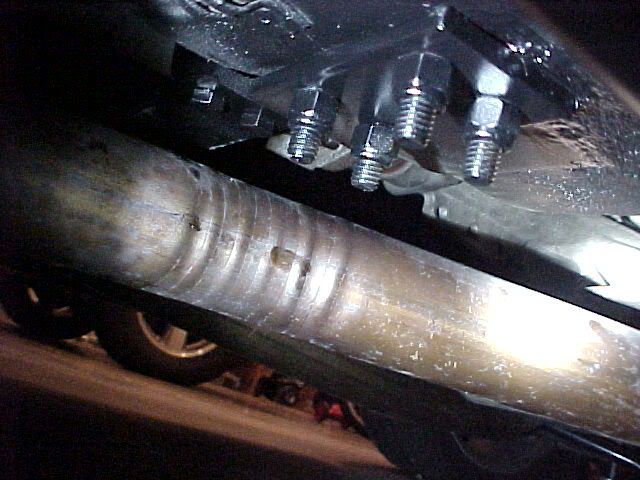
From the bottom, drivers side, you can get a good view of the whole loop, here:
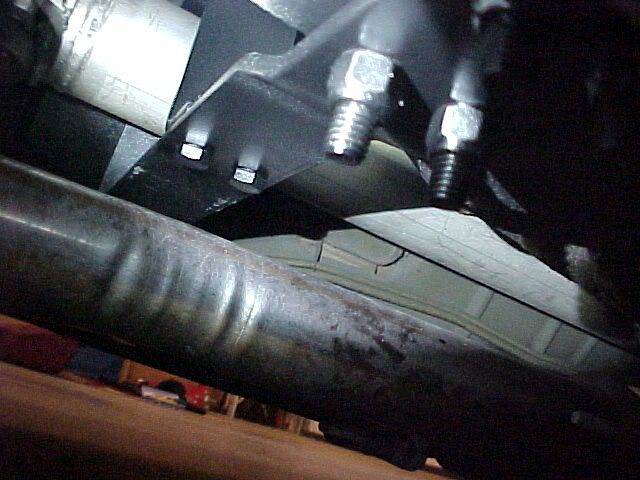
And the bottom, passenger side:
The fuel lines run very close to the passenger side, so make sure that the loop is forward where the lines are riveted to the p.s. floor pan. I also painted over the area, where the bolts come through, with textured undercoating paint, to hide the mod, and provide further sealing. BTW, that crappy off-road H-pipe, with its non-mandrel bends, is soon to be a thing of history. I have a Magnaflow, catted H-pipe, waiting to go on, soon.
No comments:
Post a Comment